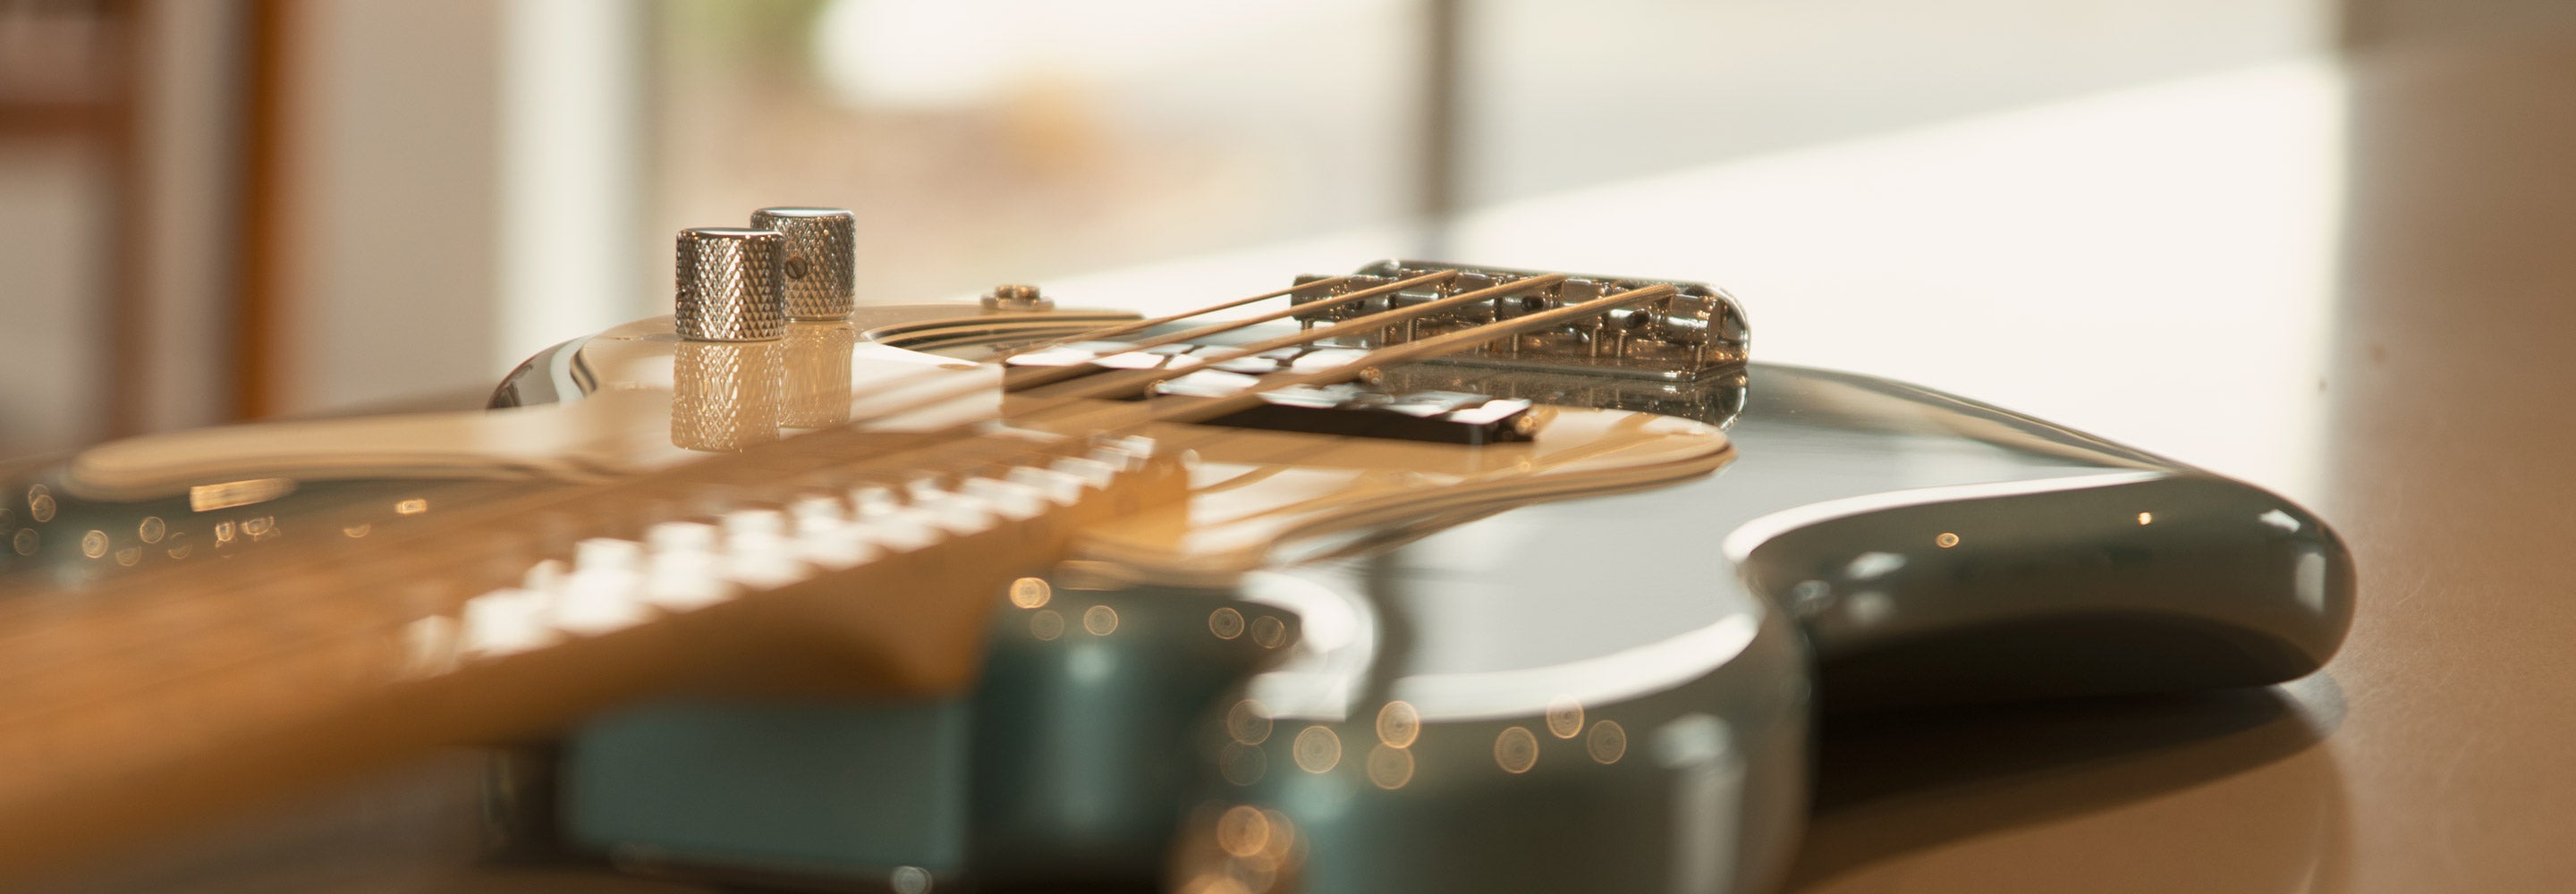
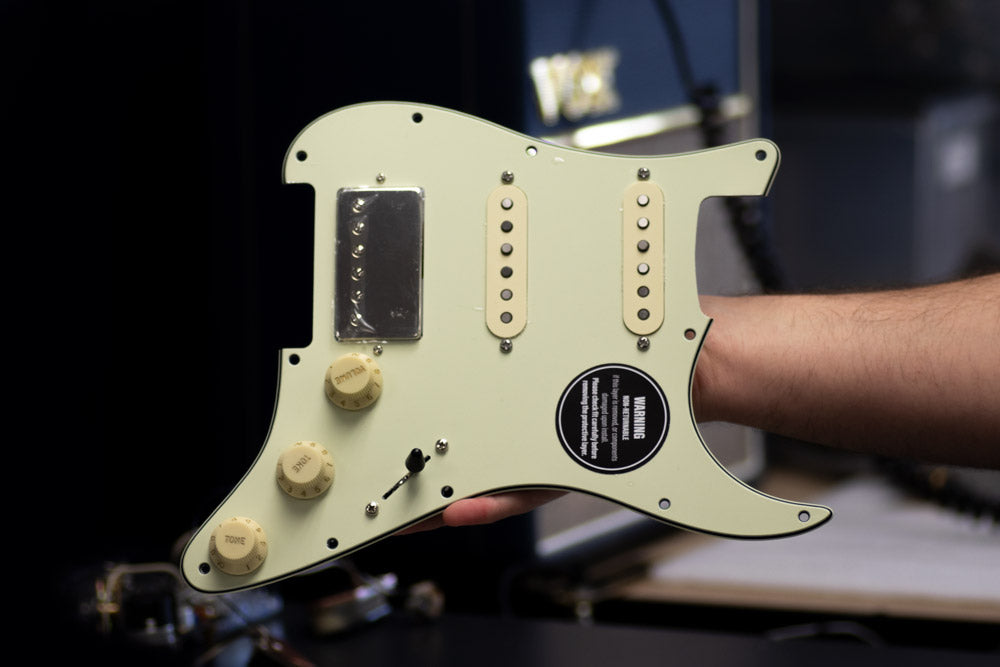
I finally found a Squier CV 60s P Bass worth modding, so this circuit was the starting point. Even with the stock pickup there are definite improvements (particularly with the tone control) so once that Fralin pickup arrives, It'll be all steam ahead. I found fitting the wires into the tiny cavities a little fiddly, but that's probably because of my failing 76 yo eyesight! A very worthwhile investment.
I wanted to upgrade the electronics on a budget entry-level guitar, and this seems to be a great option if you're inexperienced with these kinds of upgrades. I also added a white pickguard that's better than the original one. Installation is easy, and their website has information on potential issues that helped me identify a change in the wire colors on my Toneryder pickups. The 7 ways switch -upgrade option is a significant improvement over the initial. The shipping was fast, with good order tracking, and the packaging was perfect.
Sounds great, love the tapping and the 50s/60s switches. Very happy. For Epiphone, I did have to ream the through holes for the pots, but easy to do with right tool.
This is my third Obsidian wiring harness. I don’t even know why people solder anymore since this technology exists. Pots are amazing, setup was easy as usual, I can swap pickups in this strat so easily now! Love that I can choose to have a treble bleed or not.


